
1. Head to your Facebook Events Manager, choose the Ad Account or Business Manager you want to use, then click the blue + Add New Data Source button, then select Facebook Pixel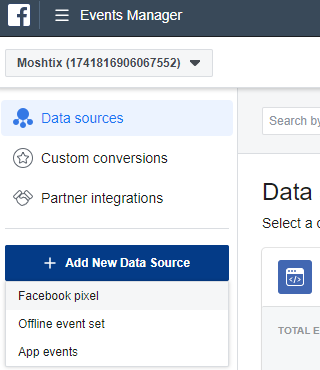
2. Name your pixel, enter your website URL, then click Continue
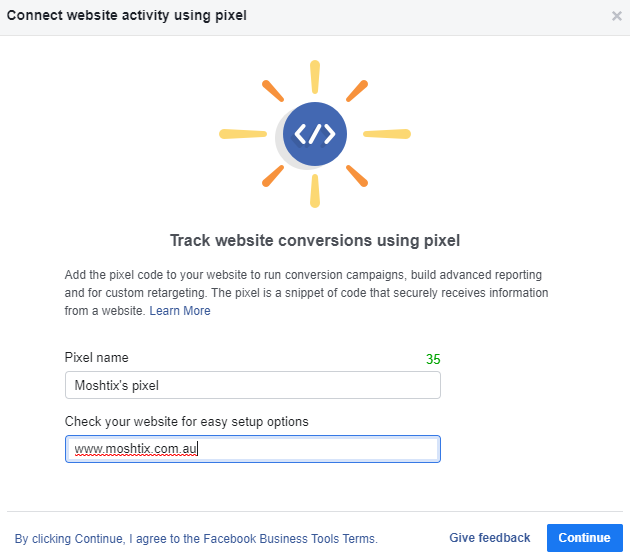
Remember when naming your pixel, the name should represent your business, rather than a specific campaign. If you want to use more than one pixel per ad account, you can do that with Facebook Business Manager.
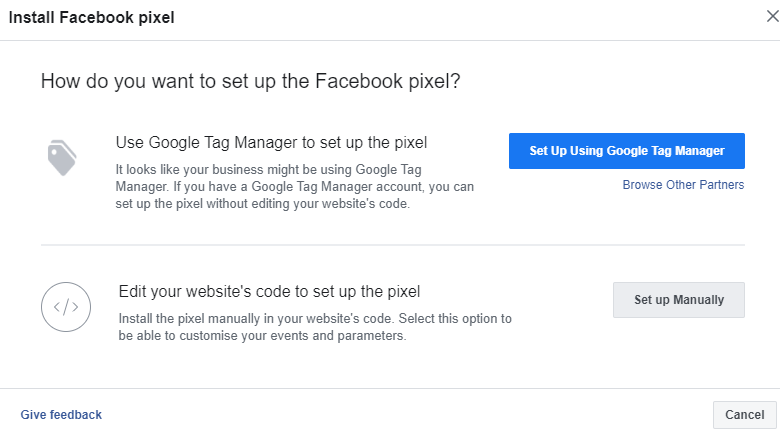
3. For the Install Facebook Pixel step, select 'Set up Manually'
4. Either copy the code and send it to your Client Manager, or click on Email Instructions and Facebook will send it to your Client Manager (be sure to let them know it's coming if you choose this route!), then ensure that step 2 'Turn on automatic advanced matching' is on. Click continue.
Don't worry about testing the base code for now, as your pixel will not be active until Moshtix has installed it on your ticket pages.
5. This pixel doesn't JUST have to be on your ticket pages - you can also install it on your website. Check with your website service to confirm how you can install the pixel on your website to get a full picture of your audience.
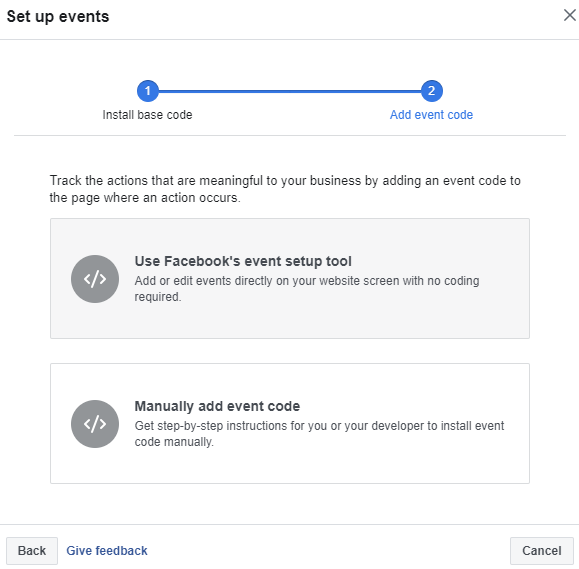
6. Set up events - choose 'Manually add event code' as we take care of these actions on our side for you!
7. Choose 'E-commerce and retail', then click done.
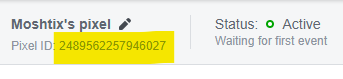
That's it - your pixel is ready to go! A reminder, if you hadn't yet sent the code (or just the pixel ID!) to your Client Manager, please do so at this point. They'll have it installed on your ticket pages within 24 hours (on business days, please allow extra time on weekends).
Comments
0 comments
Please sign in to leave a comment.